 Chuckanut
 Building New in Bellingham Means Building for This Climate
If you're framing up a new home in or around Bellingham, the windows you choose and how they get installed will matter more than almost any other exterior decision you make. Whatcom County sits right on the water, and that comes with a specific set of stresses: salt-laden air off Bellingham Bay and the Salish Sea, long stretches of driving rain, and a damp season that stretches on long enough for moss and algae to take hold on anything that stays wet. A window package that would be perfectly fine in a drier inland climate can start showing problems here within a few years if it wasn't specified or installed with this environment in mind.
New construction gives you an advantage that a remodel doesn't: you get to build the window opening correctly from the studs out, instead of working around whatever was done decades ago. That's a real opportunity, but only if the crew doing the work understands what this region actually demands.
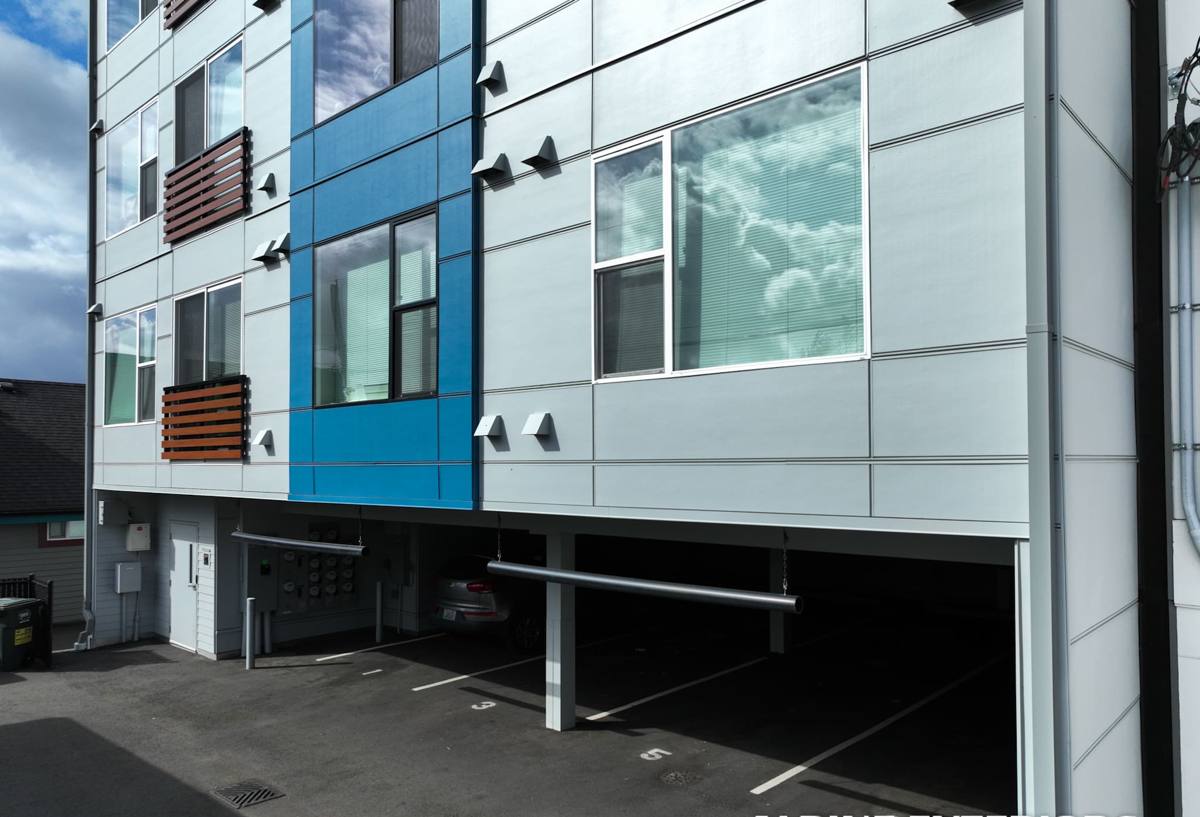
What the Local Climate Demands From New-Construction Windows
Salt Air and Coastal Exposure
Homes closer to the water deal with airborne salt that accelerates corrosion on hardware, fasteners, and some metal window components. It's not usually dramatic or fast, but over years it can pit uncoated metal, degrade certain finishes, and work its way into any gap where moisture collects. This is one of the reasons frame material and hardware finish selection deserve real thought here, not just a default pick from a builder's standard spec sheet.
Driving Rain and Wind-Driven Water
Bellingham's weather isn't just rainy — a lot of it comes in sideways during storms off the water, which puts real pressure on rough openings, flashing, and sealant joints. A window that's watertight when tested straight-on can still leak under wind-driven rain if the flashing details around it weren't done in the right order. This is almost always an installation issue, not a product issue.
Moss Season and Prolonged Dampness
Whatcom County's moss season isn't limited to roofs. Anywhere moisture sits and doesn't fully dry out — sill horns, bottom corners of frames, trim board joints — can grow moss, algae, or mildew over a wet fall and winter. That buildup holds moisture against the window and trim even longer, which speeds up rot in any wood components and can stain siding and trim. Good drainage detailing and the right material choices reduce how much of a foothold moss ever gets.
Why New Construction Is a Different Job Than Replacement
Replacement window work is about fitting new units into an existing, already-clad opening — you're often constrained by what's there. New construction is the opposite: you're building the opening, the flashing plane, and the window-to-wall transition from scratch, before siding or trim ever goes on. That means:
- The window can be set to the correct depth in the wall assembly for proper flashing and trim reveal, rather than compensating for an old opening.
- Flashing integrates directly with the house wrap or weather-resistive barrier as it's being installed, not tucked in after the fact.
- Nailing fin windows can be used and properly integrated, which isn't always practical in a retrofit.
- There's one chance to get the water management right before the wall is closed up — mistakes here are far more expensive to fix later than during the build.
That "one chance to get it right" is exactly why the installation sequence matters as much as the window itself.
Getting the Installation Sequence Right
Most window failures we get called out to inspect — leaks, staining, soft trim, mold at the interior sill — trace back to a flashing or sequencing mistake made during original construction, not a defective window. The order of operations has to be followed exactly, every time, especially in a climate that gives water plenty of chances to find a gap.
A correct new-construction window installation in this area should include:
- Rough opening sized and shimmed level, plumb, and square before the window ever goes in
- Sill pan flashing installed first, sloped to drain outward, so any water that gets past the window exits instead of pooling
- Weather-resistive barrier integrated in proper shingle-lap order — jamb flashing, then head flashing, layered so water always sheds outward and downward
- Window fastened per manufacturer specs, without racking the frame, which can cause hardware and seal problems for years afterward
- Insulation and air sealing around the frame — a gap here undermines energy performance even if the window itself is high quality
- Interior and exterior sealant joints placed only where they belong, with weep paths left clear so the window can drain the way it was designed to
- Final check for level, plumb, square, and smooth operation before trim and siding close in around it
Skip or rush any one of those steps and you can end up with a window that looks fine at final walkthrough but starts failing once it's weathered a few real Whatcom County winters.
What Rushed Installations Miss Most Often
The two mistakes we see most in this region are sill pans left out or installed flat instead of sloped, and house wrap lapped in the wrong order at the corners. Both are invisible once the wall is closed up, and both are exactly the kind of shortcut that a driving rainstorm off the bay will eventually expose.
Choosing a Frame Material for This Environment
There's no single "best" window material for every home — it depends on budget, style, and how much upkeep you want to take on. For new construction in a coastal, wet climate like this one, here's how the common options generally compare:
| Frame Material | Moisture & Salt-Air Behavior | Maintenance | Typical Fit |
|---|---|---|---|
| Vinyl | Won't rot or corrode; performs consistently in coastal air | Low — occasional cleaning | Budget-conscious builds, rentals, most residential new construction |
| Fiberglass | Very stable in temperature swings and moisture; strong resistance to warping | Low | Higher-end builds wanting durability without wood upkeep |
| Wood-clad | Interior wood look with an exterior cladding shielding it from weather; cladding seams need attention | Moderate — depends on cladding integrity over time | Traditional or craftsman-style homes |
| Aluminum | Can corrode in salt air without a marine-grade finish; conducts cold, prone to condensation | Moderate to high near the water | Modern/commercial-style designs where thin sightlines matter |
Our standard is to steer new-construction clients away from bare aluminum this close to the water unless it's a high-quality marine-rated system, simply because of the maintenance burden and corrosion risk over the life of the home. That's a trade-off call, not a knock on the material itself — it just isn't the easiest fit for this specific climate.
How We Handle New-Construction Window Projects
We coordinate directly with your builder or general contractor rather than working in isolation, since window installation has to line up with the framing, house wrap, and siding schedule. In practice, that looks like:
- Reviewing the window schedule and rough opening sizes against the plans before anything ships, catching sizing or spec issues early
- Confirming flashing details and water-resistive barrier compatibility with whatever siding system is going on the house
- Installing at the correct point in the build sequence — after sheathing and house wrap, before siding closes it in
- Photographing flashing and sill pan details before they're covered, so there's a record of what's behind the wall
- Walking the finished openings with the builder before trim and siding installation to confirm everything checks out
That last step matters more than people expect. Once siding goes up, a flashing mistake is hidden for good — catching it before that point is the difference between a quick fix and a costly one.
What Affects Cost on a New-Construction Window Package
Every build is different, but the main variables that move the price on a new-construction window package are fairly consistent:
| Cost Factor | Why It Matters |
|---|---|
| Frame material | Vinyl is typically the most affordable; fiberglass and wood-clad cost more up front |
| Number and size of openings | More glass and larger units both raise material and labor cost |
| Performance glass package | Upgraded low-E coatings, gas fills, and multi-pane assemblies add cost but improve comfort and energy bills |
| Window style | Casements and specialty shapes generally cost more to install than standard sliders or double-hungs |
| Access and building schedule | Coordinating tightly with a build timeline is usually more efficient than a standalone job with awkward access |
We'll always walk through these factors with you and your builder up front rather than handing over a number with no explanation behind it.
Why It Matters That We Already Work in Bellingham
A crew that installs windows all over the country will apply a generic method. A crew based here already knows how a wet Whatcom County winter treats a window opening, which details actually get tested by weather in this area, and which shortcuts always come back to bite a homeowner two or three years down the road. We're not learning this climate on your project — we're applying what building here has already taught us.
That local knowledge also means we're realistic about timelines and weather windows for installation, and we're not disappearing after the build wraps up. If a builder or homeowner ever has a question about how an opening was flashed, we're a local call away, not a name on an invoice from out of town.
If you're planning new construction in the Bellingham area and want window guidance that actually accounts for this climate, we're happy to take a look at your plans and walk through options. Use the form below to request a free, no-pressure estimate.