 Chuckanut
 Window installation sounds like a simple swap — old unit out, new unit in — but in Edison, the difference between a window that performs for decades and one that fails early almost never comes down to the window itself. It comes down to what happens in the two or three inches around the opening: the flashing, the sealant, the sill pan, the air seal. Get that wrong and even a good window will leak, fog, or rot its surrounding trim within a few years. Get it right, and the window becomes one of the more durable, low-maintenance parts of the house. This page is about what "right" actually means for a window installation in Edison specifically, not window installation in general.
Why Edison Homes Need Window Installation Done Right
Edison sits at the south end of the Chuckanut Drive corridor, out on the flats near Samish Bay, just across the county line from our home base in Whatcom County. That location puts homes here in a genuinely demanding environment for anything built into an exterior wall. Salt-laden air off the bay works on hardware, fasteners, and lower-grade frame components faster than it would further inland. Storms coming off the water drive rain sideways into walls instead of letting gravity carry it straight down, which means water finds its way into gaps that a calmer climate would never test. And the damp, low-lying ground around Edison keeps a moss season running for much of the year, holding moisture against sills, trim, and siding long after a storm has passed.
None of that makes window installation impossible or unusual — it's simply the baseline condition every window opening in Edison has to be built to handle. A window that's correctly flashed and sealed will shrug off this environment for its full service life. One that's set in caulk-and-hope fashion, without proper flashing behind it, tends to show problems within a handful of wet seasons: water staining below the sill, soft trim, fogged glass from a failed seal, or drafts that show up specifically during wind-driven storms.
Where Water Actually Gets In
When a window fails in this climate, it's almost never the glass unit itself. It's the transitions — the sill where the window meets the wall below it, the corners where side flashing has to lap correctly, the head where water running down the wall above has to be directed out and away rather than behind the window. Those are the spots that take real time to do correctly, and they're also the spots a rushed installation is most likely to shortcut, because from the outside a sloppy flashing job and a correct one look identical the day the crew leaves.
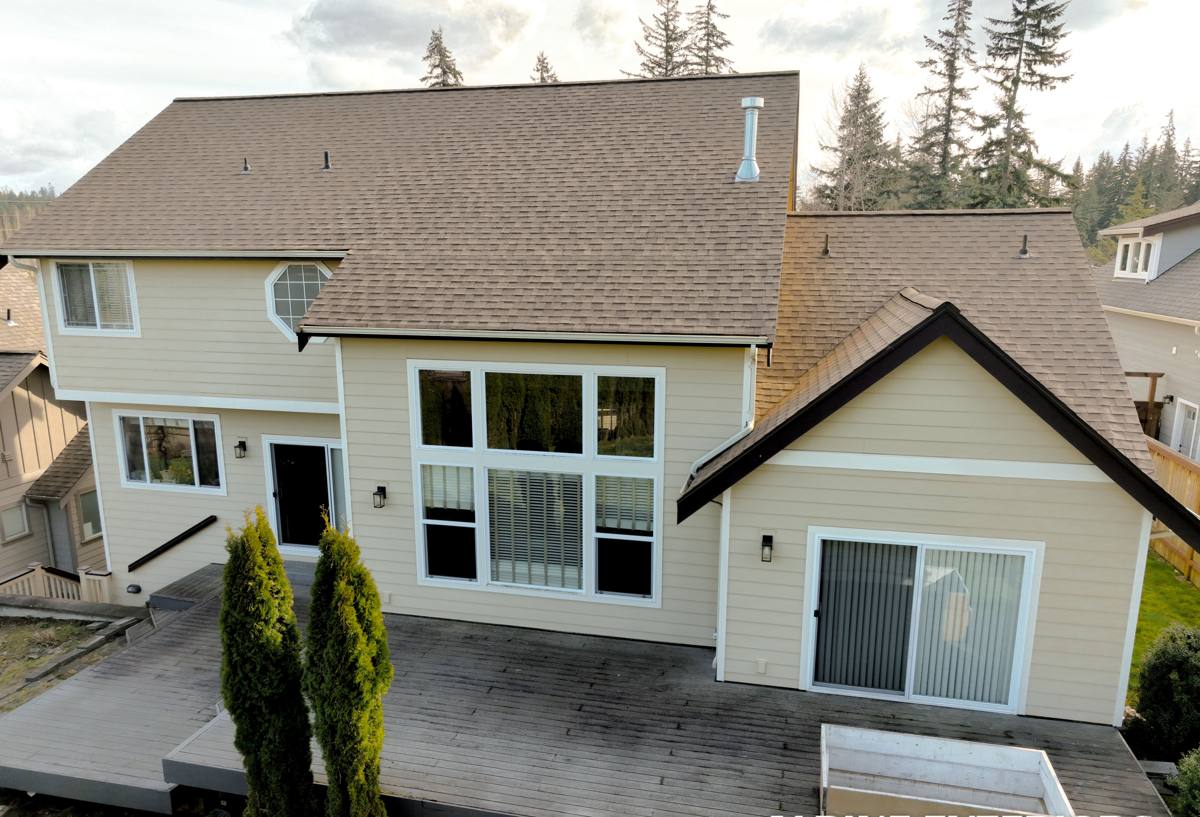
What a Correct Window Installation Actually Involves
Removal and Opening Assessment
Before a new window goes in, the old one comes out carefully enough that we can actually see the condition of the framing, sheathing, and any existing flashing underneath. This is often the first real look anyone's had at that opening since the house was built or last re-sided, and on older Edison homes it's not unusual to find old flashing that was never properly lapped, or sheathing that's been absorbing moisture quietly for years. We flag what we find and address it before anything new goes in — installing a new window over a compromised opening just hides the problem for a while longer.
Sill Pan and Flashing Sequence
This is the step that decides how the window performs in Edison's weather. A sloped sill pan under the window directs any water that does get past the glazing back outside rather than letting it pool and soak into the framing. Flashing at the sides and head is sequenced so each layer overlaps the one below it — like shingles — so water is always directed down and out, never trapped behind a layer that's lapped the wrong way. This sequence matters more here than in a drier, calmer climate, because wind-driven rain actively pushes water into gaps that would simply run off in a gentler storm.
Air Sealing and Insulation
The gap between the window frame and the rough opening needs to be sealed and insulated correctly on both sides — not just packed with whatever's on hand. Over-filling with rigid foam can bow a frame out of square; under-filling leaves a cold, drafty gap that also gives moist interior air a path to condense against cold framing. We use low-expansion foam or backer rod and sealant sized to the actual gap, with attention to keeping the assembly able to dry if any moisture does get in.
Interior and Exterior Finish
Once the window is set, shimmed, and flashed, the interior trim and exterior casing get integrated to match the rest of the house. On the exterior, that trim is part of the water-management system, not just cosmetic — it has to shed water the same way the flashing underneath it does. We plan that integration before the old window comes out, so the finished look is intentional rather than patched together.
Choosing a Window for This Climate
Frame material matters more on a coastal-adjacent site like Edison than it does further inland, because salt air and sustained dampness work harder on lower-quality hardware and finishes. We install windows from several manufacturers rather than pushing one brand on every job, and we'll walk through the honest trade-offs for your specific home rather than defaulting to whatever's easiest to install.
| Frame Material | How It Handles This Climate | Trade-Off |
|---|---|---|
| Vinyl | Won't rot or corrode; handles moisture well at a lower price point | Can expand and contract with temperature swings; quality varies a lot between manufacturers |
| Fiberglass | Very stable dimensionally, holds paint well, strong resistance to moisture and salt air | Higher upfront cost than vinyl |
| Wood-clad (exterior-clad) | Warm interior look with a low-maintenance exterior shell protecting the wood | Cladding integrity at the joints becomes critical in a wet climate — any breach exposes wood underneath |
| All-wood, unclad | Traditional appearance, workable for historic-style homes | Requires ongoing exterior maintenance that a damp, salt-air climate makes harder to keep up with |
Beyond frame material, the glazing package matters just as much. A lower U-factor keeps more heat inside during the region's long stretch of cool, wet months, and a Low-E coating with the right solar heat gain coefficient balances winter heat retention against summer glare. Double-pane, argon-filled units are standard on most jobs here; triple-pane is worth discussing on north-facing walls or homes with higher heating bills, though it adds cost and weight.
Full-Frame Replacement vs. Insert Replacement
There are two basic approaches to replacing an existing window, and which one makes sense depends on the condition of what's already there — not just on price.
| Factor | Insert (Pocket) Replacement | Full-Frame Replacement |
|---|---|---|
| What it involves | New window fits inside the existing frame, which stays in place | Existing frame is removed entirely down to the rough opening |
| Best used when | The existing frame, sill, and flashing are sound and square | There's rot, water damage, or the frame is out of square |
| Access to flashing | Limited — you're trusting what's already behind the old frame | Full access to inspect and correct flashing and sheathing |
| Glass area | Slightly reduced, since the new unit nests inside the old frame | Can match or maximize the original opening size |
| Cost and labor | Generally faster and less expensive | More labor-intensive, but addresses problems at the source |
In a climate like Edison's, we're cautious about recommending an insert replacement on any opening where we can't confirm the existing flashing is sound. Hiding a new window over a compromised sill just delays a bigger repair, and delays in this climate tend to get more expensive, not less.
Signs It's Time for New Windows in Edison
- Fogging or a visible haze between panes — the seal has failed and the insulating gas has escaped
- Soft, discolored, or bubbling trim or sill material, especially on walls that take direct wind-driven rain
- Drafts you can feel specifically during storms, even if the window seems fine on a calm day
- Difficulty opening, closing, or locking, which often points to a frame that's swollen, warped, or out of square
- Visible gaps or failed caulk lines around the exterior trim
- A noticeable jump in heating costs without any other explanation
- Moss or dark staining building up on the sill or trim below the window
Our Window Installation Process
- On-site assessment — we look at each opening individually, check for existing water damage, and note anything that affects the flashing plan
- Honest recommendation — insert or full-frame replacement, explained with the reasoning specific to that opening, not a one-size answer
- Window selection — we walk through frame material and glazing options suited to your budget and how exposed that particular wall is
- Removal — the old window comes out carefully, with the opening inspected as it's exposed
- Flashing and installation — sill pan, side and head flashing, and the new unit set, shimmed, and sealed to a sequence built for this climate
- Insulation and air sealing — the gap around the frame is filled correctly on both the interior and exterior side
- Trim and finish — interior and exterior trim integrated to match the rest of the house
What Drives the Cost
We won't quote a number without seeing the openings, but the factors that move price are consistent from job to job.
| Factor | Why It Matters |
|---|---|
| Insert vs. full-frame | Full-frame replacement takes more labor but addresses the opening at the source |
| Frame material | Vinyl, fiberglass, and wood-clad options carry different material costs |
| Glazing package | Triple-pane, upgraded Low-E coatings, and specialty glass all add cost over a standard double-pane unit |
| Opening condition | Rot or old flashing failures mean repair work before the new window goes in |
| Number of windows | A whole-house or multi-window project typically has better per-unit economics than a single replacement |
| Size and access | Larger units or hard-to-reach openings, like a second story facing the water, add labor time |
Why a Crew That Already Works in Edison Matters
Manufacturer installation instructions are written for average conditions — they assume a reasonably sheltered wall and a moderate amount of wind-driven moisture. Edison's exposure to salt air and driving rain off Samish Bay doesn't match that assumption, and neither does the long moss season that keeps walls damp here longer than in a drier part of Whatcom or Skagit County. A crew that has actually flashed openings in this specific stretch of coastline knows which parts of the standard instructions are worth following to the letter and where extra attention on flashing laps and sealant is worth the added time, even when it's not strictly required everywhere else.
That experience shows up in decisions that don't get discussed in a sales pitch — how much lap a flashing course needs on a wall that takes rain nearly head-on, whether a given sill needs a sloped composite pan instead of relying on caulk, how to sequence the work so the opening is never left exposed overnight during an unpredictable stretch of weather. Those details are what decide whether a window installation is still performing cleanly in twenty years or showing rot and drafts in five.
Ready to Talk About Your Windows?
If you're dealing with drafty, foggy, or hard-to-operate windows, or you're planning ahead for a remodel, it's worth having someone look at the actual openings before you start pricing units. We offer free, no-pressure estimates for window installation in Edison and the surrounding area — use the form below to get a time on the schedule.