 Chuckanut
 Why Siding Repair Calls in Burlington Look Different From New Builds
A repair call is a different job than a new install, and it takes a different kind of judgment. On a new build, every board goes up clean and to spec. On a repair, you're dealing with a wall that's already been through years of weather, an existing installation you didn't do, and a homeowner who usually just wants to know one thing: is this a quick fix, or is it the first sign of something bigger? Answering that honestly is most of what a good siding repair actually is.
We work Burlington regularly as part of our Skagit County service area, running down from our home base in the Chuckanut area along the same corridor a lot of homeowners here commute on. That means we're not learning this valley's weather patterns from a brochure — we've pulled failed boards off Burlington walls and seen exactly what salt air, driving rain, and a long moss season do to siding over time, on this specific stretch of ground.
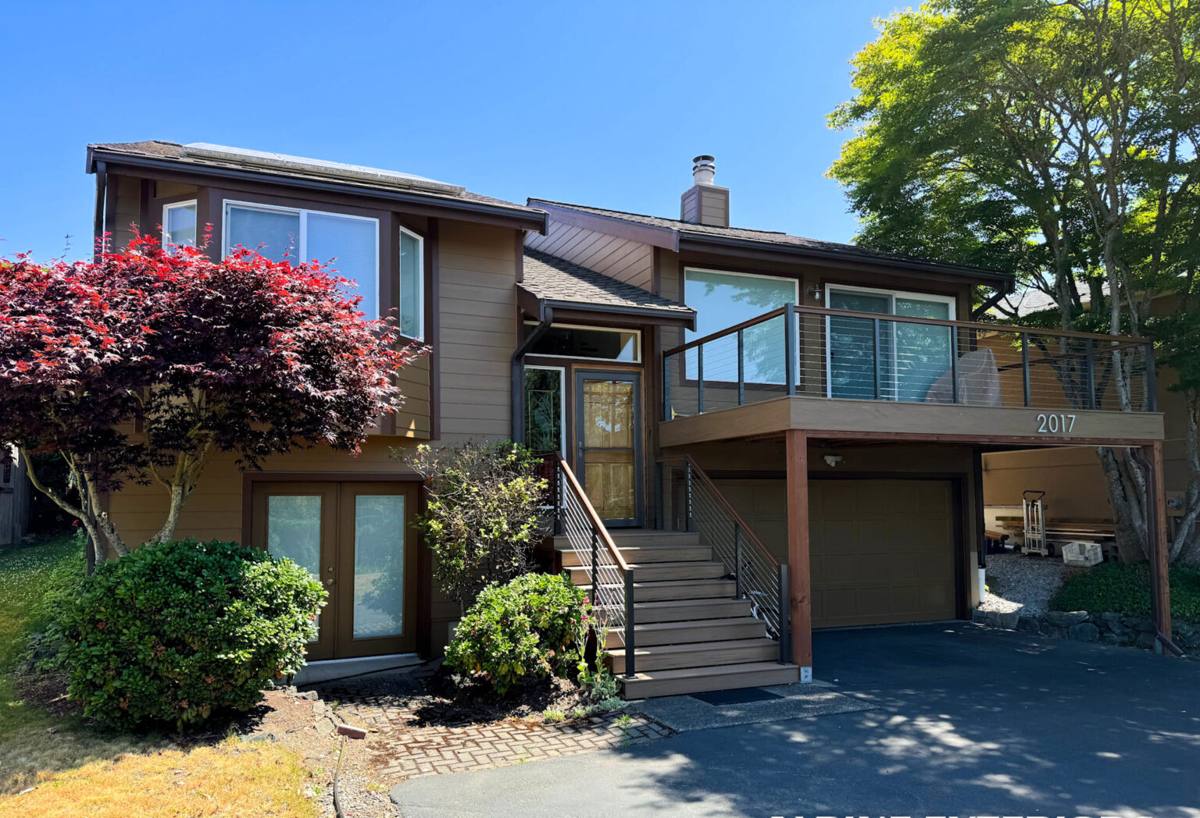
How Burlington's Climate Creates These Repair Calls
Almost every repair call we get in this area traces back to one of three conditions, usually working together rather than alone.
Salt Air and Fastener Corrosion
Air moving in off Skagit Bay and Padilla Bay carries enough salt to speed up corrosion on exposed fasteners, trim, and flashing. A corroding nail or screw doesn't just look bad — it loses holding strength and can open a small gap right where it penetrates the siding, which is exactly the kind of detail that turns into a repair call a year or two later.
Wind-Driven Rain at Seams and Joints
Rain here doesn't fall straight down as often as people assume. Storm systems push it sideways into walls, and that wind-driven rain finds its way into whatever seam, joint, or trim line wasn't sealed or lapped correctly the first time. Most of the repair work we do isn't spread evenly across a wall — it's concentrated at these specific failure points, which is a useful diagnostic clue in itself.
A Moss Season That Doesn't Really End
Burlington's valley setting and tree-lined lots keep a lot of walls shaded and damp well after a storm has passed. Moss and mildew take hold on those walls faster than on open, sun-exposed ones, and once established, they hold moisture against the surface for extended periods — turning what would be a short wet cycle into a long one, and accelerating whatever damage is already underway underneath.
Signs Your Siding Needs Repair Now
Some siding problems are obvious. Others hide until they've been developing for a while. Here's what we tell Burlington homeowners to walk their own exterior and check for:
- Visible cracks, splits, or chips in siding boards, especially near corners and butt joints
- Soft or spongy spots when you press on the siding, particularly near the bottom courses and around grade
- Caulk that's cracked, shrunk, or pulled away from trim and joints
- Staining, streaking, or discoloration that tracks below a fastener line or seam
- Bubbling, peeling, or a chalky finish that wipes off on your hand
- Moss or dark mildew growth that keeps coming back on the same section of wall
- Musty smells, soft drywall, or staining on interior walls that back up to an exterior wall showing damage
- Warped, bowed, or visibly separated boards, especially after a hard windstorm
Any one of these on its own might be minor. Two or three showing up in the same area of the wall usually means water has been getting in for longer than it looks like from the outside.
Repair or Replace? How We Make the Call
This is the question almost every repair visit comes down to, and it's not one we answer with a rule of thumb — it depends on how far the damage has actually spread once we open things up. But there are patterns that hold up consistently enough to lay out plainly.
| Situation | Repair usually makes sense | Replacement usually makes more sense |
|---|---|---|
| Damage extent | Isolated to one or two boards or a single wall section | Spread across multiple walls or found in several unrelated spots |
| Sheathing condition | Dry and solid once the damaged siding is opened up | Soft, discolored, or showing rot when probed |
| Cause | A single identifiable failure point — one bad joint, one impact, one missed flashing detail | A systemic issue, like a wall-wide moisture barrier failure or age-related finish breakdown |
| Age of existing siding | Relatively recent installation with an isolated defect | Siding nearing or past its expected service life overall |
| Cosmetic match | Repaired section can be reasonably matched to surrounding siding | Fading or discontinued product makes a clean match impossible |
We'll always tell you plainly which side of that table your house falls on, and why — including when a repair is genuinely the right call and a full re-side would just be spending more than the problem calls for.
What a Correct Repair Actually Involves
Finding the Real Extent of the Damage First
The single most common mistake in siding repair is fixing what's visible without checking what's behind it. A cracked board or failed joint is usually the exit point for water, not the entry point, and the sheathing and water-resistive barrier behind the damaged siding need to be checked before anything gets closed back up. Patching over hidden moisture damage doesn't fix the problem — it just hides it again for another season.
Matching Board, Reveal, and Finish
When the repair involves James Hardie siding, matching the replacement board's profile, reveal, and ColorPlus finish batch to the surrounding siding is what keeps a repair from standing out as an obvious patch. Hardie boards are manufactured in specific product lines and colors, so getting the right match starts with correctly identifying what's already on the wall before ordering material.
Fixing the Cause, Not Just the Symptom
If a repair is being driven by a flashing gap, a missed seal at a penetration, or fastener corrosion, that underlying detail gets corrected as part of the repair — not just the board that failed because of it. A new board installed over the same unresolved flashing problem is just a slower repeat of the same call.
When Your Existing Siding Isn't James Hardie
We install one siding product on new work: James Hardie fiber cement. Repair calls are a different situation, because we're often looking at vinyl, LP SmartSide, cedar, or another material that was already on the house when the homeowner bought it or that a previous contractor installed. We'll assess and repair what's there when the damage is contained and a competent patch is realistic — a cracked vinyl panel, a localized cedar board replacement, a resealed joint.
Where we're honest with homeowners is when that repair math stops working. Matching faded or discontinued vinyl, or patching cedar that's showing widespread finish breakdown across a whole wall, often produces a repair that looks worse than the original problem or that fails again within a season or two. In those cases we'll tell you directly that the section — or sometimes the whole exterior — is a better candidate for a proper re-side in fiber cement than another round of patching a material that's reached the end of what patching can reasonably fix. That's a recommendation based on what we've seen hold up in this climate, not an upsell dressed as a repair visit.
Our Repair Process, Start to Finish
- On-site inspection of the damaged area and a broader walk of the exterior to check for related issues elsewhere on the house
- Opening up the affected section to assess sheathing, water-resistive barrier, and framing condition before quoting anything
- A straight explanation of what we found, what caused it, and whether repair or replacement is the right call for that section
- Sourcing matched material — correct Hardie product line, profile, and finish batch, or the appropriate existing material for a contained patch
- Correcting the underlying cause — flashing, sealant, fastener issue — as part of the same repair, not as a separate future call
- Final inspection and a clear rundown of what to watch for on that section going forward
Cost Factors for Burlington Siding Repair
Repair costs vary more than replacement costs do, because they depend entirely on what's found once the wall is opened up rather than a straightforward per-square-foot material calculation. These are the factors that actually move the number:
| Factor | How It Affects Cost |
|---|---|
| Hidden sheathing or framing damage | Adds structural repair scope beyond the visible siding fix |
| Material match availability | Discontinued colors or profiles may require a wider repair area to keep the patch looking intentional |
| Access and wall height | Second-story or tight-clearance repairs add setup and labor time |
| Number of separate repair locations | Multiple unrelated spots on the same visit cost less combined than separate trips |
| Underlying cause complexity | A simple caulk failure costs far less to correct than a flashing re-work at a window or roofline |
Why a Crew Already Working Burlington Matters
A contractor who works this stretch of Skagit County regularly has already seen how a shaded, tree-lined lot ages differently than an open one two streets over, and how a wall facing the prevailing storm direction wears faster than one that's sheltered. That pattern recognition is what lets us walk up to a house and know roughly where to look first, rather than starting from zero on every visit. It also means we're reachable down the road if a repaired section needs a second look, instead of a crew that did one job in the area and moved on.
Keeping a Repair From Becoming a Repeat Call
A correctly diagnosed and executed repair should hold — but a little upkeep afterward keeps it that way in a climate like this one:
- Keep gutters clear ahead of the wet season so overflow doesn't soak siding and trim at the eaves
- Check shaded, north-facing walls periodically for early moss regrowth and address it before it spreads
- Inspect caulked joints and trim yearly, since this is where wind-driven rain finds its way in first
- Keep an eye on the repaired section specifically for the first year or two to confirm the underlying cause was actually resolved
If you're dealing with damaged, cracked, or failing siding on a Burlington home and want a straight answer about what it actually needs, we're glad to take a look. Reach out below for a free, no-pressure estimate.