 Chuckanut
 New-Construction Windows for Alger Homes
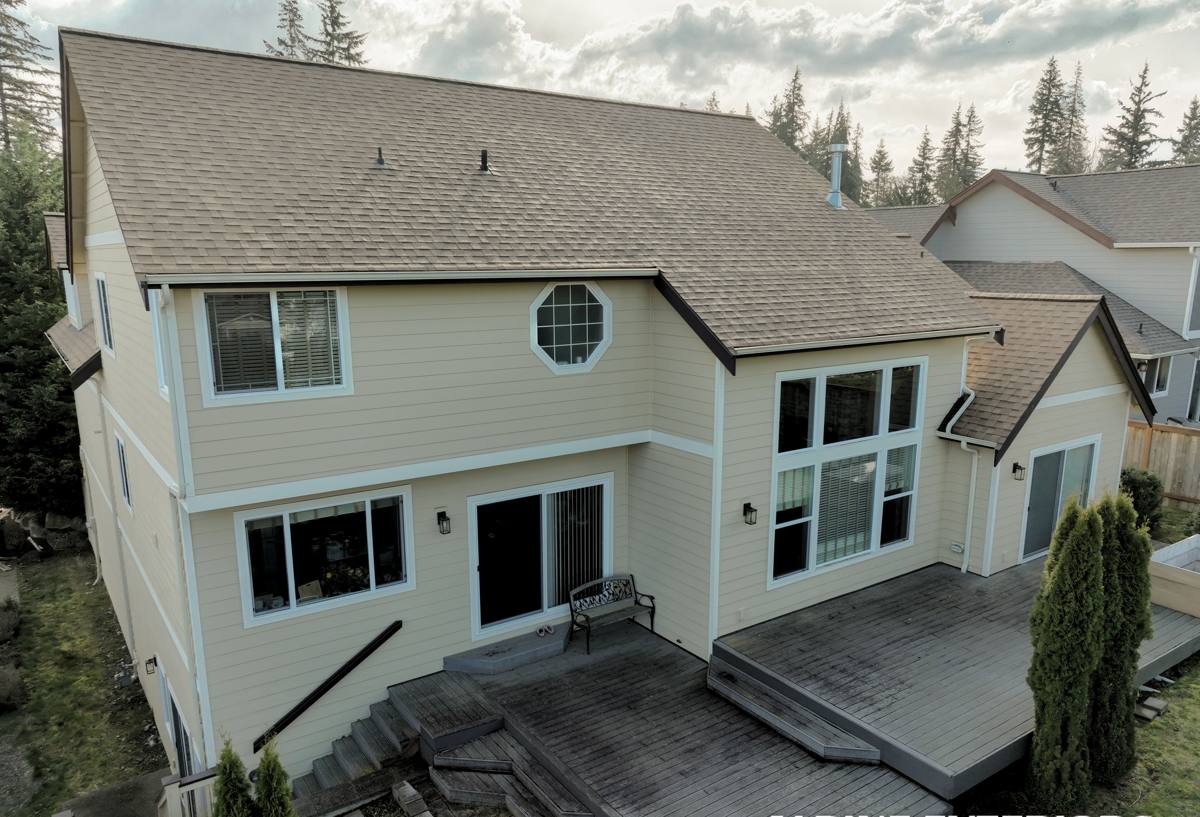
Building new in Alger means you get one real chance to get the windows right. Once the siding and trim close up around them, the flashing details underneath are hidden for the life of the house. Out here along the Chuckanut corridor, where salt-laden air off the water, driving rain, and long stretches of gray, mossy weather are the norm rather than the exception, a rushed or generic window install is one of the most common places a new home starts leaking within the first few winters. We install new-construction windows as part of new builds and additions in the Alger area, working directly with the framing and weather-resistive barrier before siding ever goes on — not patching around finished walls.
What "New Construction" Actually Means for Your Windows
There's an important difference between a new-construction window and a replacement window, and it's not just marketing language — it changes how the window physically attaches to your house.
Nail-Fin (New Construction) Windows
A new-construction window has a nailing flange around its perimeter. It gets set into the rough opening before the siding is on, fastened through that flange directly to the sheathing, and then integrated into the wall's water-resistive barrier with flashing tape and housewrap in a specific shingled order — so water is always directed outward and downward, never trapped behind the window.
Pocket (Replacement) Windows
A replacement window has no nailing flange. It's built to slide into an existing frame without disturbing the siding around it. That's the right call for a remodel where you don't want to tear into finished walls — but it's the wrong product for new construction, because you lose the ability to properly flash the window into the wall assembly from scratch.
Because you're building new, you have the opportunity to do this the right way from the studs out. That's worth taking seriously, especially with the weather this area gets.
Why the Install Sequence Matters More Here Than in a Dry Climate
Whatcom County weather doesn't give a new home much room for error. Wind-driven rain off the Sound pushes moisture sideways into wall assemblies, not just straight down, so a window flashed only at the top or with the wrong lap order will eventually let water behind the siding. Add in the salt air common to this stretch of coastline, which accelerates corrosion on fasteners and metal flashing that aren't rated for it, and a long moss season that keeps roofs, trim, and north-facing walls damp for months at a time, and you have a climate that punishes shortcuts. A window opening that's flashed correctly the first time simply doesn't have these problems. One that isn't may look fine for a year or two before rot shows up in the framing around it — by which point the fix means opening up the wall, not just recaulking.
The Flashing Sequence We Follow
| Step | What Happens | Why It Matters in This Climate |
|---|---|---|
| 1. Sill pan | A sloped, sealed pan is installed at the bottom of the rough opening | Catches any water that gets past the window and directs it back outside instead of into the framing |
| 2. Housewrap prep | Weather-resistive barrier is cut and folded into the opening ahead of the window | Creates a continuous drainage plane before the window ever goes in |
| 3. Window set & fastened | Window is leveled, shimmed, and fastened through the nailing fin per manufacturer spec | Prevents racking and keeps the unit operating smoothly for years, not just at install |
| 4. Flange flashing | Flashing tape is applied to the fin in a shingled order — sides first, then top | Directs wind-driven rain down and out rather than behind the window |
| 5. Housewrap integration | Upper housewrap laps over the top flashing | Completes the drainage plane so water never has a path inward |
| 6. Sealant & backer rod | Exterior joints sealed with a compatible, UV-stable sealant | Handles the fine-grained, near-constant drizzle typical of the moss season here |
Skipping or reordering any one of these steps is exactly how "mystery leaks" happen two or three years after move-in.
Choosing Window Materials for a Coastal-Influenced Climate
Material choice matters almost as much as the installation itself when you're this close to salt air and sustained moisture. There's no single "best" window for every budget, but here's how the common options actually behave out here.
| Material | Performance in This Climate | Maintenance | General Cost Position |
|---|---|---|---|
| Vinyl | Good moisture and corrosion resistance; won't rot or rust | Low — occasional cleaning | Most affordable |
| Fiberglass | Excellent dimensional stability, handles temperature/moisture swings well, strong corrosion resistance | Low | Mid to upper-mid |
| Aluminum-clad wood | Attractive, but exposed wood interior and any clad seams need to be properly sealed to keep moisture out long-term | Moderate — watch seams and finish over time | Higher |
| Bare wood | Handsome but the most vulnerable to our wet season and salt exposure without diligent upkeep | High | Higher |
We're not going to tell you a manufacturer is "bad" — most reputable window lines perform well when installed correctly. What we will say plainly: in a climate with this much sustained moisture and coastal salt influence, we lean toward vinyl or fiberglass for most new builds because they ask the least of you in year ten, and we flag wood or clad-wood as a conscious trade-off — better looks, more upkeep — rather than a default choice.
How We Work with Builders and Owner-Builders in Alger
Most of our new-construction window work in this area comes in one of two forms: framing crews or general contractors who bring us in for the window package specifically, or owner-builders managing their own project who want the window install handled by people who won't need hand-holding on sequencing with the framer, the siding crew, and the weatherproofing timeline.
- We walk rough openings before windows arrive to confirm sizing, squareness, and header height match the approved plans
- We coordinate timing with your siding and housewrap installer so there's no gap where an opening sits exposed to weather
- We use flashing tape and sealants rated for coastal/high-moisture exposure, not generic interior-grade products
- We document the flashing sequence with photos at each stage, since it's invisible once the wall closes up
- We check every unit operates correctly — locks, tilt features, screens — before we call the install done
Why It Matters to Hire a Crew That Already Works This Area
Window installation isn't exotic work, but installing correctly for this specific climate is a different skill than installing correctly for, say, a dry inland region. A crew that mostly works drier climates may not default to coastal-rated flashing tape, may under-detail the sill pan, or may not think twice about fastener corrosion resistance near salt air — because in their usual market, none of that matters much. Around Alger and the broader Chuckanut area, all of it matters. We work new-construction window packages in this specific stretch of Whatcom County regularly, which means we're not improvising our moisture strategy on your house — it's the same sequence we use on every build out here, adjusted for your specific window sizes and elevations.
What to Check Before You Sign Off on a New-Construction Window Job
- Ask whether the crew uses a dedicated sill pan at every opening, not just caulk at the bottom of the frame
- Confirm the flashing tape and housewrap integration follow a proper shingled (top-over-bottom) lap order
- Ask what fastener type is used and whether it's corrosion-resistant for coastal exposure
- Get manufacturer installation instructions followed to the letter — most window warranties are void if the install doesn't match spec
- Ask for photos of the flashing before siding covers it — you want a record of work you'll never see again
- Clarify who's responsible for coordinating install timing with your siding crew so openings aren't left exposed for weeks
If a contractor can't answer these plainly, that's worth noticing before the walls close up, not after.
Cost Factors Specific to New-Construction Window Installs
Pricing on a new-construction window package depends on more than just the window units themselves. The realistic range for a full home's window install, materials and labor combined, runs broadly from the low thousands into the low tens of thousands depending on the home's size and window count — but the bigger swing factors are usually these:
- Number, size, and configuration of openings (standard double-hung vs. large picture or corner units)
- Window material — vinyl, fiberglass, or clad-wood, as outlined above
- Height and access — second-story and steep-roof-adjacent openings take longer and need more setup
- How tightly the install needs to be coordinated with your framing and siding schedule
- Upgrades like triple-pane glazing or higher wind-load ratings, both worth considering given the exposure some Alger lots get off open water and fields
We'll walk your plans with you and give you a straightforward number before work starts — no padding, no surprise change orders for things we could have flagged up front.
If you're framing up a new build or addition in Alger and want the window package handled by a crew that already knows how to detail openings for this climate, we're happy to take a look at your plans and put together a free, no-pressure estimate — just reach out through the form below.