 Chuckanut
 Siding Installation for Edison Homes
Edison sits close enough to the water and to the fields around the Samish flats that its houses take a different kind of beating than homes further inland. Salt-laden air drifts in off the bay, rain comes in sideways for weeks at a stretch in the fall and winter, and shaded, damp corners of a lot grow moss on anything that holds moisture. Siding installed here has to be chosen and installed with all three of those conditions in mind, not just "whatever's cheapest" or "whatever the last contractor had in the truck." We install James Hardie fiber cement siding exclusively, and this page walks through what a correct installation actually involves for a home in this part of Whatcom and Skagit County.
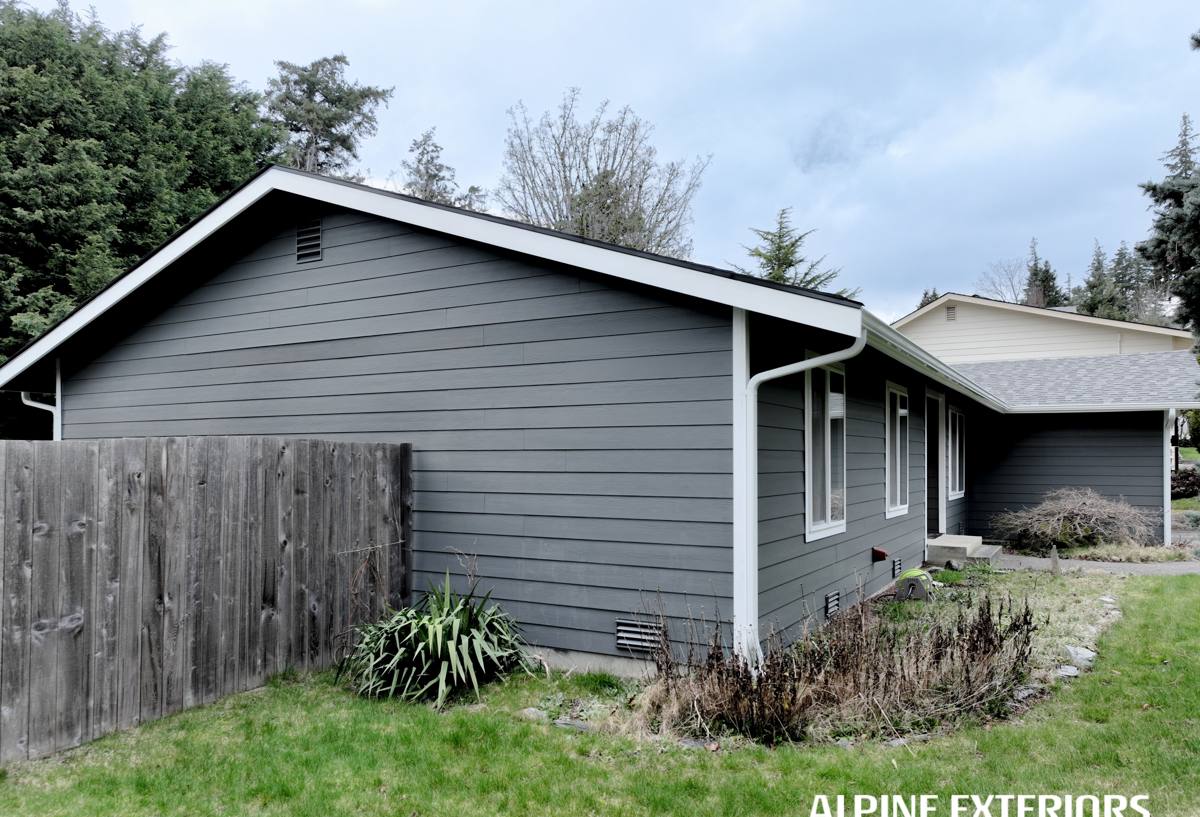
What Edison's Climate Actually Does to Siding
It helps to be specific about the forces at work, because they're not the same everywhere in Western Washington. A home a mile from the water deals with different stress than one tucked into a forested lot inland.
Salt Air
Airborne salt is corrosive to exposed metal fasteners, flashing, and trim — and it accelerates the breakdown of paint films that aren't built to handle it. Cheap or thin coatings chalk and fade faster near the water. Fastener corrosion is a quieter problem: a fastener that starts rusting behind the siding can stain the face of the material or eventually lose its grip, long before anyone notices from the ground.
Driving Rain
Wind-driven rain doesn't fall straight down — it gets pushed sideways into every lap, seam, and penetration in the siding. On an Edison lot with open exposure toward the water or fields, that wind load is real. Water management behind the siding (not just on the surface of it) is what determines whether a wall assembly stays dry over decades or starts rotting sheathing from the inside out.
Moss and Shade
Between tree cover and the region's long wet season, north-facing walls and anything under an eave overhang stay damp for months. Wood-based siding products are food for moss, algae, and eventually rot in those conditions. Fiber cement isn't organic material, so it doesn't feed the same growth — though any siding surface can still collect surface grime that needs an occasional rinse.
Why We Only Install James Hardie
We made a decision as a company to stop installing anything other than James Hardie fiber cement siding, and it wasn't a marketing choice — it came out of years of seeing which products held up on real Whatcom and Skagit County homes and which ones created callbacks. Hardie's HZ5 product line is specifically engineered for climates like this one: harsh, wet, coastal-influenced weather. The fiber cement itself is non-combustible, doesn't provide a food source for moss and mildew the way wood-based sidings do, and holds paint and factory finish far longer than wood or wood-composite products because it doesn't swell and contract with moisture the same way.
The factory-applied ColorPlus finish matters more here than in a drier climate. It's baked on under controlled conditions, so it resists fading and chalking from UV and salt exposure better than field-applied paint, and it comes backed by its own finish warranty separate from the product warranty. For a home that's going to see decades of onshore weather, that combination — inert material plus a factory finish built for exposure — is the reason we standardized on it and stopped installing alternatives.
What a Correct Installation Involves
Siding is a system, not a single layer of material nailed to the wall. A correct James Hardie installation on an Edison home includes several layers most homeowners never see once the job is done:
- Weather-resistive barrier: A properly lapped and sealed water/air barrier behind the siding, installed shingle-style so water is always directed outward and down.
- Flashing at every penetration: Windows, doors, hose bibs, light fixtures, and any other wall penetration get flashed so wind-driven rain can't work its way behind the cladding.
- Correct fastener placement and type: Hardie specifies fastener type, spacing, and placement for a reason — get it wrong and you either void the warranty or create a point where water and corrosion can start.
- Proper clearances: Minimum gaps between siding and grade, roofing, decks, and other transitions so the bottom edge of the siding isn't sitting in standing water or snow.
- Correct joint treatment: Butt joints and panel seams sealed or flashed per Hardie's published details, not just caulked over and hoped for.
- Ventilation behind the cladding where called for: On damp, shaded walls in particular, a drainage plane that lets incidental moisture escape rather than get trapped.
Any one of these done wrong can undermine an otherwise good siding job. This is also why we don't treat installation as separate from product choice — a great product installed poorly performs worse than a mediocre product installed correctly, and in a climate like Edison's, the margin for error is smaller than it is in a dry inland town.
Our Process on an Edison Job
1. On-Site Assessment
We walk the exterior and look at exposure direction, existing moisture damage, trim condition, and how the current siding (if any) has held up. Homes near the water or with heavy shade often show different wear patterns wall to wall, which changes where we pay closest attention.
2. Tear-Off and Sheathing Check
Old siding comes off and we inspect the sheathing underneath. This is the point where hidden moisture damage — often from years of a poorly flashed window or a gap at a trim board — gets found and dealt with before new siding goes over it. Covering up a wet or rotted wall assembly is one of the most common ways a siding job fails early.
3. Weather Barrier and Flashing Installation
New house wrap or building paper goes on, lapped correctly, followed by flashing at every window, door, and penetration. This step is invisible in the finished product but does most of the actual work of keeping the wall dry.
4. Hardie Panel or Lap Installation
Panels or lap siding go up to Hardie's fastening and clearance specifications, with attention to butt joint treatment and corner details — areas that are especially exposed to wind-driven rain.
5. Trim, Caulking, and Final Detail
Trim boards, corner treatments, and caulking are finished last, using products compatible with the ColorPlus finish so the whole assembly performs and looks consistent.
6. Walkthrough
We go over the finished job with the homeowner, including basic care — what to expect from the finish over time and when a simple rinse is worth doing.
Cost Factors on an Edison Siding Job
Every home is different, but the factors that most commonly move a siding installation estimate up or down are consistent. We give real numbers on-site after a walk-through rather than a blind quote, but here's what tends to matter most:
| Factor | Why It Matters |
|---|---|
| Extent of tear-off needed | Full removal of old siding and any damaged sheathing adds labor beyond a straightforward re-side |
| Hidden moisture or rot found underneath | Repair or replacement of sheathing and framing before new siding can go on |
| Home size and wall complexity | Dormers, multiple gables, and cut-up wall lines take more time per square foot than simple rectangular walls |
| Siding profile chosen | Lap siding, panel siding, and shingle-style Hardie products differ in material and labor cost |
| Trim and accessory scope | Full trim replacement versus reusing sound existing trim changes both material and labor |
| Site access | Tight lots, difficult staging areas, or multi-story walls affect equipment needs and time on site |
Why It Matters That We Already Work in Edison
A crew that only shows up in this area once doesn't build the same instinct for it that a crew working Chuckanut, Edison, and the surrounding Whatcom and Skagit County communities regularly does. We know which wall orientations in this area tend to take the worst of the winter storms, where moss buildup shows up first on a shaded lot, and how salt exposure differs even within a few miles depending on how exposed a property is to the water. That local pattern recognition shapes real decisions on a job — where we pay extra attention to flashing, which walls get closer inspection during tear-off, and what maintenance advice actually applies to this specific stretch of coastline versus generic advice that doesn't account for it.
A Practical Checklist Before You Hire
Whether you go with us or another contractor, these are worth confirming before signing anything for a siding job in this area:
- Ask what weather-resistive barrier and flashing details will be used, not just what siding brand goes on top.
- Confirm the contractor is a certified installer for the product they're proposing and can explain manufacturer fastening specs from memory.
- Ask how they handle hidden moisture damage found during tear-off, and get that answer in writing.
- Get clarity on warranty coverage: product warranty, finish warranty, and workmanship warranty are three separate things.
- Ask for the maintenance expectations of the specific product, especially regarding moss, algae, and salt exposure in this area.
- Confirm clearances at grade, roofline, and deck transitions will meet manufacturer minimums, not just "look right."
Get an Estimate
If you're weighing a siding replacement or new installation for a home in Edison, we're happy to come take a look, walk the exterior with you, and give you a straightforward, no-pressure estimate based on what your specific walls need. Use the form below to get started.