 Chuckanut
 Building New in York Means One Chance to Get Windows Right
When you're framing a new home in the York area, window installation isn't a swap-and-caulk job — it's a sequence. The windows go in before the siding, before the interior finish, and often before the roof is fully dried in. Get that sequence wrong and you're not looking at a drafty window in five years; you're looking at rot inside a wall cavity that nobody sees until the drywall comes off. Get it right, and the window becomes a non-issue for the next few decades.
New-construction windows are a different animal from the replacement units most homeowners are familiar with. They typically use a nailing fin (or flange) that gets integrated directly into the wall's weather-resistive barrier, rather than fitting into an existing opening with the old frame left in place. That distinction matters most in a climate like ours, where the building envelope has to shed water for months at a stretch without a break.
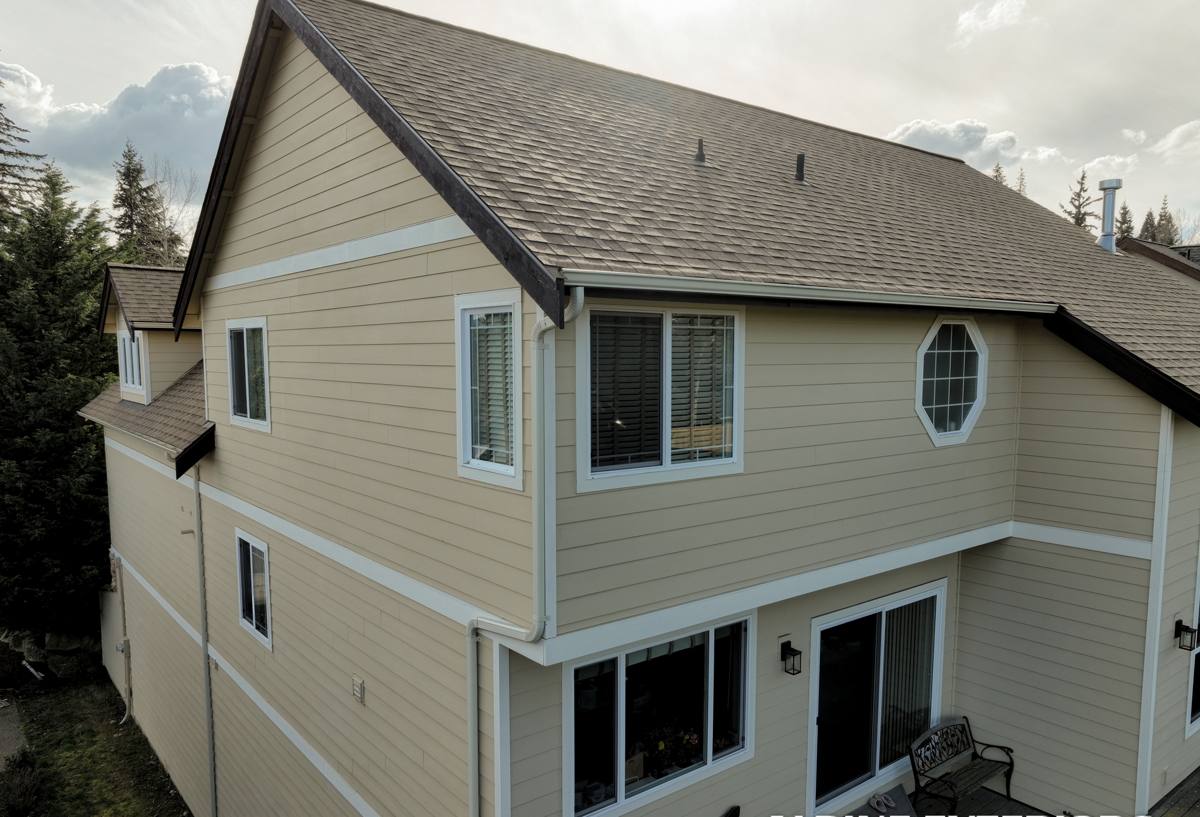
What Chuckanut's Climate Actually Demands From a Window
Whatcom County sits close enough to the water that homes in and around Chuckanut deal with a combination most inland builders never have to plan for: salt-laden air, driving wind-driven rain, and a moss season that seems to run longer every year. Each of those puts a different kind of stress on a window assembly.
- Salt air accelerates corrosion on exposed fasteners, hardware, and lower-grade metal components — it rewards frame materials and hardware finishes that resist it, and punishes shortcuts.
- Driving rain means wind is pushing water sideways and upward against the building, not just letting it run straight down. A flashing detail that works fine in a calm rain can fail in a coastal wind event if laps aren't sequenced correctly.
- Moss and sustained moisture keep sills, trim, and surrounding siding damp for extended stretches. Anywhere water can collect and linger, organic growth follows — which is a maintenance issue on the surface but a warning sign if it's happening at a window opening.
None of this means you need an exotic product. It means the ordinary details — flashing laps, sill pans, sealant placement, and frame material — have to be done correctly every single time, because this climate doesn't forgive skipped steps the way a drier region might.
Choosing a Window Package for a New Build Here
For new construction, you're not stuck matching an existing opening, so you have real freedom in frame material and glass package. The right choice depends on budget, exposure (a wall facing prevailing wind and rain needs more from its window than a sheltered one), and how much long-term maintenance you want to take on.
| Frame Material | Moisture & Salt-Air Tolerance | Maintenance | Typical Lifespan | Best Fit |
|---|---|---|---|---|
| Vinyl | Good — won't rot or corrode, but can flex in temperature swings | Low — occasional cleaning | 20-30 years | Budget-conscious builds, secondary walls |
| Fiberglass | Very good — dimensionally stable, resists coastal weathering well | Low | 30-40+ years | Exposed elevations, long-term owners |
| Wood-clad (exterior-clad, interior wood) | Good on the clad exterior; interior wood needs protection from interior moisture | Moderate — clad exterior is low-maintenance, interior finish needs occasional attention | 25-35 years | Homeowners who want a wood interior look with a protected exterior |
Glass package matters just as much as frame material. In our climate, a dual-pane, low-E unit with argon fill and a warm-edge spacer is the baseline worth building around — it manages condensation risk on cold, wet mornings and keeps energy performance reasonable through a Whatcom County winter. We'll walk through U-factor and Solar Heat Gain Coefficient (SHGC) numbers for your specific elevations, since a south-facing wall and a wind-exposed north wall don't necessarily want the same glass spec.
The Installation Sequence That Keeps Water Out
This is where new-construction windows are won or lost, and it has almost nothing to do with the window itself. A premium window installed on top of a poor flashing job will leak. A mid-range window installed correctly will not. The sequence we follow is not proprietary — it's the industry-standard method — but skipping or reordering any of these steps is exactly how coastal homes end up with hidden rot:
- Rough opening is checked for square, level, and correct dimension before the window ever arrives on site.
- A sloped sill pan is installed at the bottom of the opening so any water that gets past the window has somewhere to go — outward, not into the wall.
- Weather-resistive barrier (house wrap) is cut and prepped with the correct flap sequence so laps will shed water downward once the window is in.
- The window is set, shimmed level and plumb, and fastened through the nailing fin per the manufacturer's schedule — not by feel.
- Flashing tape goes over the fin at the sides first, then the top, in the correct shingle-lap order so every layer sheds water onto the layer below it.
- The head flashing is integrated last, directing water out and away from the top of the opening.
- Interior and exterior sealant is applied at specified points only — sealing the wrong gap can trap moisture instead of releasing it.
Every one of those steps is inspectable at the time it's done and essentially invisible once siding goes on. That's exactly why it has to be done right the first time — there's no cheap fix once the wall is closed up.
Coordinating With Your Builder, Framer, and Siding Crew
On a new build, window installation sits in the middle of a chain of other trades, and timing mistakes here cause real problems. Rough openings need to be framed to the correct size before windows are ordered — lead times on custom sizes can run several weeks, so late framing changes ripple through the whole schedule. Once windows are set, the house wrap and flashing have to be finished before siding starts, and the siding crew needs accurate window dimensions and trim details to plan their own layout.
We work directly with builders and framers on York-area projects rather than showing up as an isolated trade. That means confirming rough opening sizes before your windows are ordered, showing up on the schedule when the wall is actually ready (not before, not after it's been exposed to weather too long), and handing off clean, correctly flashed openings to whoever installs your siding — sometimes that's our own crew, sometimes it's another contractor, and either way the transition needs to be clean.
Energy Code and Performance in Whatcom County
Washington's energy code sets minimum performance requirements for new-construction windows, and those minimums matter more here than they would somewhere with a mild, dry climate — a home that leaks air or lets in excess solar heat has to work harder to stay comfortable through our wet winters and increasingly warm summers. We size and spec glass packages to meet or exceed code requirements for your project, and we can talk through where it makes sense to go beyond the minimum, particularly on walls that take the brunt of the weather.
This is also a good point to loop in your builder's energy compliance path (prescriptive vs. performance) early, since window U-factor and SHGC numbers feed directly into that calculation. Changing window specs after the energy compliance paperwork is filed can create rework nobody wants.
Our Process on York-Area New Builds
We keep this straightforward because a new-construction job has enough moving parts already:
- Review your plans and rough opening schedule before windows are ordered, catching sizing issues early.
- Walk the site with your builder or framer to confirm timing and access.
- Recommend frame material and glass packages by elevation and exposure, not a one-size answer for the whole house.
- Install using the sill-pan-and-shingle-lap flashing sequence described above, on every opening, every time.
- Document the flashing details before siding closes over them, so there's a clear record of what's behind the wall.
- Coordinate handoff with your siding crew so trim and water management line up.
What to Verify Before the Wall Gets Closed Up
Whether we're installing your windows or you're evaluating another crew's work mid-project, these are worth confirming before siding or interior finish covers everything up:
- Sill pan is present and sloped to drain outward, not sitting flat.
- House wrap laps are shingled correctly — upper layers over lower layers, never reversed.
- Flashing tape covers the nailing fin at sides and top in the correct order, with no gaps or reversed laps.
- Fasteners are corrosion-resistant, especially on walls with direct wind and salt exposure.
- Window is shimmed level, plumb, and square — not just "close enough" — before final fastening.
- Sealant is applied only where specified, with weep paths left open where the window design requires them.
Why Hiring a Crew That Already Works York Matters
Correct window installation isn't a secret technique — it's published in every major manufacturer's installation guide. The difference between a good result and a problem shows up in whether those steps get followed on every single opening, on a schedule that's often compressed and juggling multiple trades. A crew that regularly works new-construction projects in and around Chuckanut has already dealt with the specific rhythm of this climate — knowing when a wet stretch means pausing before wrapping an opening, knowing which elevations on a York-area lot typically take the worst of the wind-driven rain, and knowing how to hand off clean work to the next trade without slowing the build down.
That familiarity doesn't come from a brochure. It comes from doing this work, in this weather, on homes going up in the same neighborhoods, season after season.
Let's Talk About Your Project
If you're framing a new home in the York area and want windows specified and installed correctly the first time, we're glad to walk your plans, talk through frame and glass options for each elevation, and put together a straightforward estimate — no pressure, no obligation. Use the form below to get started.